Mapped @ Image Mapper
-->
Image Map

Saturday, 23 July 2011

My Pink Stamper new Design Team!

Hi Everyone. So, my last post was of me entering a DT Call Challenge for My Pink Stamper. I just wanted to update you with the new My Pink Stamper Design Team. Please be sure to stop by these very talented crafters' blogs and leave them some love and congratulations. There are SEVEN new designers!

(The links for the blogs are the ones from their submissions to the challenge.)

#22 Missy
#49 Carissa Wiley
#82 Sharon Langford
#94 Renee C.
#64 June Houck
#13 Chelle
#107 Roberta

Because Robyn really wanted to take in more, there are several honorable mentions:

#29 Jeanne S.
#10 Heather
#100 Gwen
#164 Pat N.
#75 Crafty Jar Judy

Returning from her previous Design Team


Maria - Head Designer!

Agnes

Alex

Andrea

Angela

Courtney

Cristi

Edna

Helen

Julie Ann

Kassidy

Michelle


Yes, you will notice I was not selected, but that's ok! Please welcome the new Pink Desingers. Happy Blogging and have a fabulous day!


Tuesday, 19 July 2011

Design Team Call for My Pink Stamper

Hi Everyone. If you haven't heard yet, Robyn from My Pink Stamper is having a design team call for the second half of the year. She has a challenge up for her DT Call; read about it here if you're interested. Robyn's blog and video tutorials helped get me acquainted with the Cricut when I first bought it 2.5 years ago. She has a lot of helpful tips and tricks and her projects are so super cute. So, even if you're not interested in applying for the design team, be sure to stop by her website!


My project for this challenge is a cupcake box.


To create this cupcake box, I used 2 different Cricut Cartridges -- George and Basic Shapes and Storybook and I also used the preloaded cartridge Gypsy Wanderings for the handle. This file was made completely from scratch.

I started with George and Basic Shapes. I used mostly squares and resized them to the size I wanted. This box is a 3" cube with a window cut out at about1.5" from the Cricut Storybook Cartridge. For the top, I used a rounded triangle and resized an oval to create a slit for the handles to be pulled through. The handles are a cut from Gypsy Wanderings.

For the little tag up on the corner, I used the scallop from Mini Monograms cut at 2". I cut out the cupcake image from the same sheet of cardstock that I used for the box itself. I used a pop dot to place the monogram on the outside of the cupcake box.


Recipe
Paper - DCWV Sweet Stack
Cricut Cartridges - George and Basic Shapes, Storybook, Mini Monograms (for the tag), Gypsy Wanderings (for the handle)
Sentiment - Computer Generated
Other - Provocraft Gypsy, pop dots (for the tag), Pink ATG

In addition to the box, I also made the cupcake holder inside (so the cupcake stays in place and doesnt hit the sides of the box. Since my box is 3" x 3", using my gypsy, I layered two 4" rectangles over each other and welded them. This gave the holder a height of about 0.5" so that it did not come up over the window on the box. I inserted 3 circles in the middle; one that was 2.5" and two smaller ones that were about 0.75". Creating a circle that is 2.5" will fit a standard sized cupcake. 


Making boxes and customizing them to the sizes I want is my new obsession these days... so you may be seeing more posts of my box creations. =)

Hope you enjoyed yourself. Thanks for stopping by.

Have a fabulous day!

Sunday, 10 July 2011

Catching up on 2 more challenges!

HOLA! I am entering in a couple more challenges:

Cricut Cartridge Chaos Challenge #23 Wildcard
Come and Get It Color Challenge - Light Blue, Light Pink, Light Green


Enjoy!

Mojo Monday #198

Hello again today! Just catching up on these challenges. This one is for Mojo Monday #198.


Have a fabulous day... again! =)

Peachy Keen Stamps :: Sketch Challenge 55

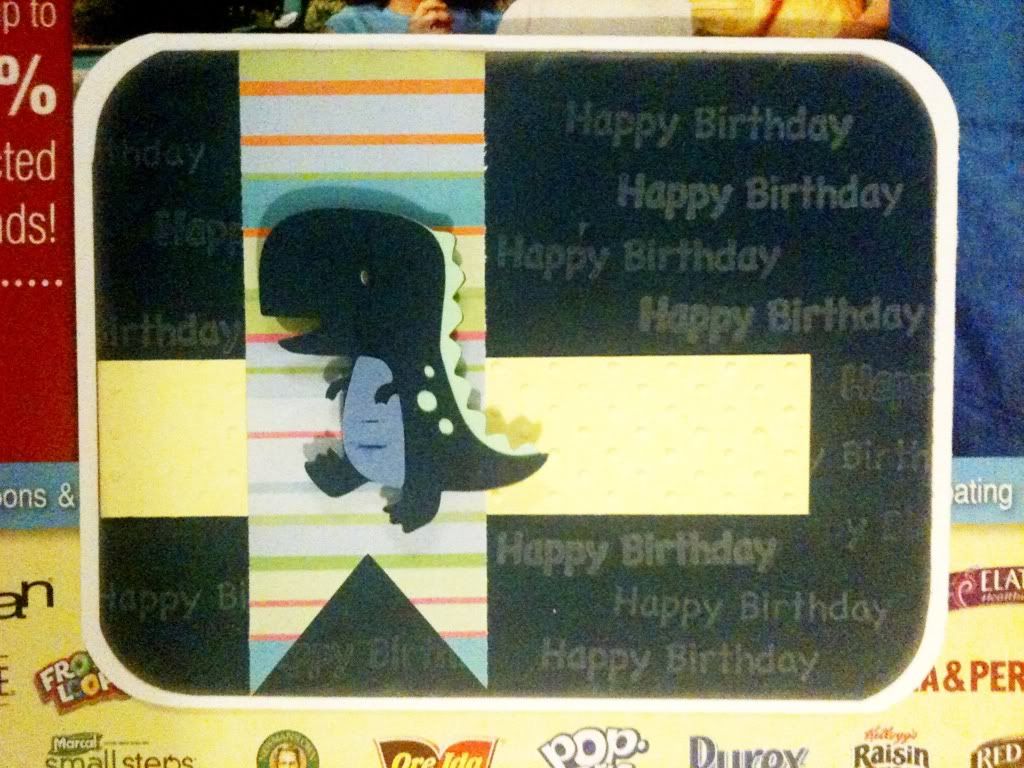
Hello friends! Today I'm playing along with PKS Skecth Challenge 55. Here is the sketch:


And here is my card:


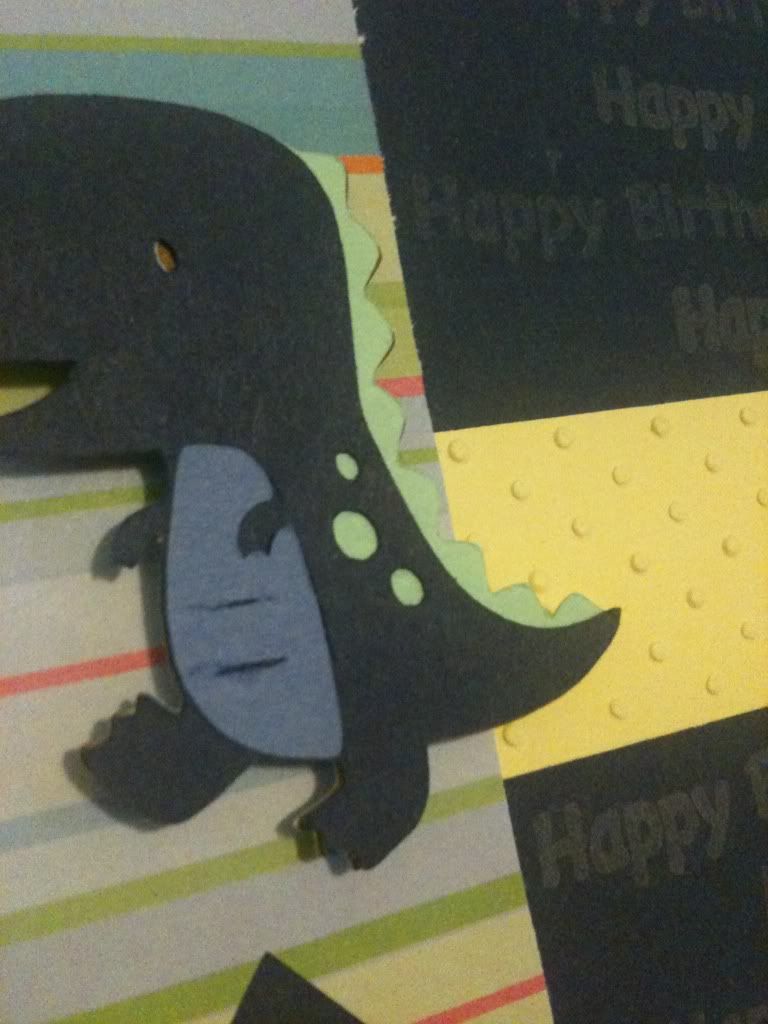
The card is a standard A2. The dinosaur, from Create A Critter Cricut cartridge, is cut at 2". I just used card stock that I had from stock. I couldn't find my white gel pen because I wanted to draw in some stitches for his edges. I used the Swiss dots embossing folder for the yellow piece. The blue edges were inked with the same ink that I stamped my sentiment from Hot Off the Press. (I know I use this set a lot. I promise, some of then stamps on my wish list will be moving into the cart soon.)

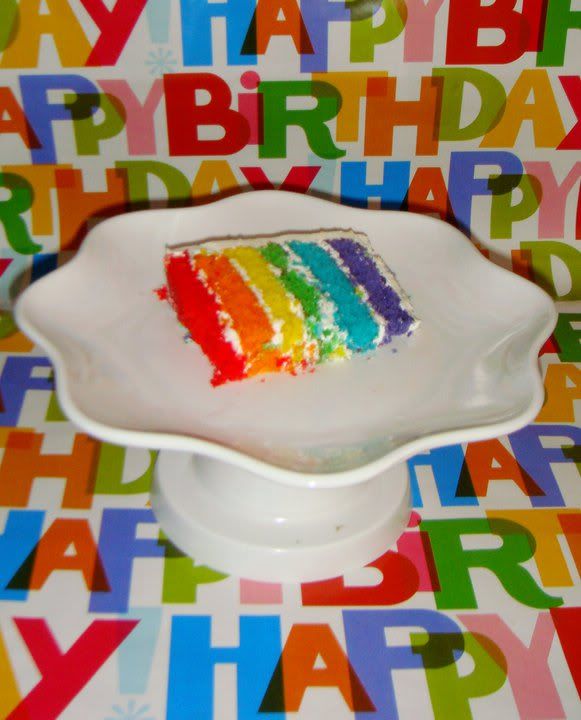
This card is for my nephew, and we're celebrating his birthday today with some delicious rainbow cake made by my super talented sister-in-law! : ) Doesn't it look so pretty??? Awesome Job, Nan!


Thanks for stopping by. Have a fabulous day, everyone!

Sunday, 3 July 2011

I WON!! ... And, time for CCCC#22!

Hello everyone! Ok, up until a few days ago, I was one of those people who always entered contests and raffles wishing I would win but "knowing" more that I most likely would not... Well, I stumbled on a Summer SVG Shindig blog hop from a blog that I visit often called Under A Cherry Tree. AMAZING Projects from such talented Crafters! Not only did I win one prize, but I won TWO!!! Thank you Bee from Dare to Bee Creative and Jessica from Jessica's Crop Corner for my awesome blog hop candy, GC for one of my new favorite sites Lettering Delights and a fabulous Luau SVG Collection!!


If you haven't already, please visit these super talented ladies' blogs and leave some love. Thank you again for my AWESOME Blog Hop Candy!!! =)

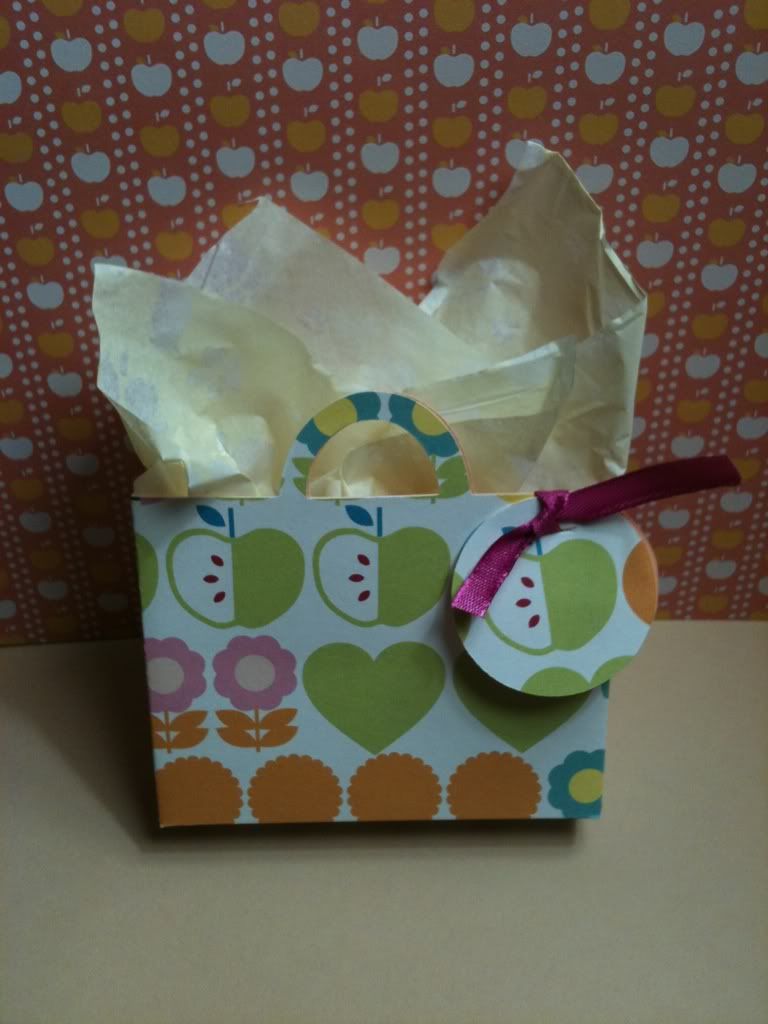
Next up, I made a quick gift card bag for a friend's baby shower. She does not (and does not want to) know the sex of her baby, so instead of being able to shop for cute baby stuff, I got her a gift card. I got this idea from Macy's actually. Last Christmas, while purchasing a gift card for my Gift Card Exchange person, the sales rep from Macy's rang up my purchase and placed it in a cute little Macy's Shopping Bag. I thought, I could make those to hold my GC's from other places!


The bag was cut using Tags, Bags, Boxes and More Cricut Cartridge at 6 inches. I cut the circle tag from the same cartridge at 1.5 inches.


I really wanted to use a fun pattern with lots of bright and cheery colors. Like many of us paper addicts, I have TONS of (non-cardstock) patterned paper... so, what I did was cut two bags - one with the patterned paper I wanted to use and one with a solid peach cardstock. I "married" the two together with the patterned paper on the outside with my Pink ATG and some Zip two-way glue for the handles. This made for a cute and sturdy gift card bag. I didn't do much as the colors were enough for me... that, and I had about 15 minutes to make it. BTW, the patterned paper is from Martha Stewart Crafts - Playground.

I was going to enter this into Melanie and Joy's Cricut Cartridge Chaos Challenge #22 - Tags, Bags, Boxes and More. But, I think I may have missed the deadline. Although, I thought I read somewhere that this challenge was extended. Mr. Linky is still up, so I'm just going to add it. =)

I also entered this on PaperPlay's Wk 26 Anything But A Card Challenge. Play Along!!

Have a fabulous day, everyone!