Mapped @ Image Mapper
-->
Image Map
Showing posts with label George and Basic Shapes. Show all posts

Saturday, 24 September 2011

Simply Sunday - Happy, Happy Halloweenie!

Hi everyone! I just wanted to share a quick project with you today. I've got some treat holders that I'm making for my little brother and sister for their classmates for Halloween!


Recipe
Orange Cardstock
Inkadinkado - black
Stamps - My Creative Time, All Around Halloween
Cricut Cartridges - George and Basic Shapes, Storybook
Misc - Divine Twine (black licorice), Gypsy, Cuttlebug and Spots and Dots embossing folder, Martha Stewart Score Board


I'm making about 300 of these. Wish me luck!

Please hop on over to Getting Crickey with K Andrew for more Halloween Inspiration!

Have a fabulous day!

Tuesday, 19 July 2011

Design Team Call for My Pink Stamper

Hi Everyone. If you haven't heard yet, Robyn from My Pink Stamper is having a design team call for the second half of the year. She has a challenge up for her DT Call; read about it here if you're interested. Robyn's blog and video tutorials helped get me acquainted with the Cricut when I first bought it 2.5 years ago. She has a lot of helpful tips and tricks and her projects are so super cute. So, even if you're not interested in applying for the design team, be sure to stop by her website!


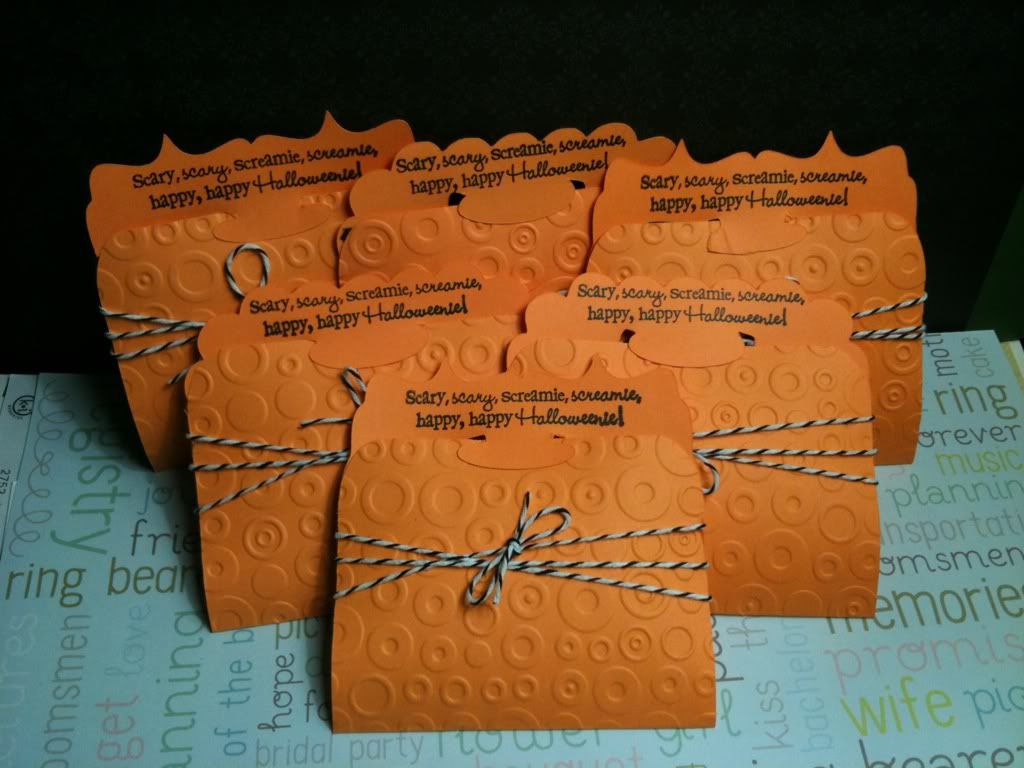
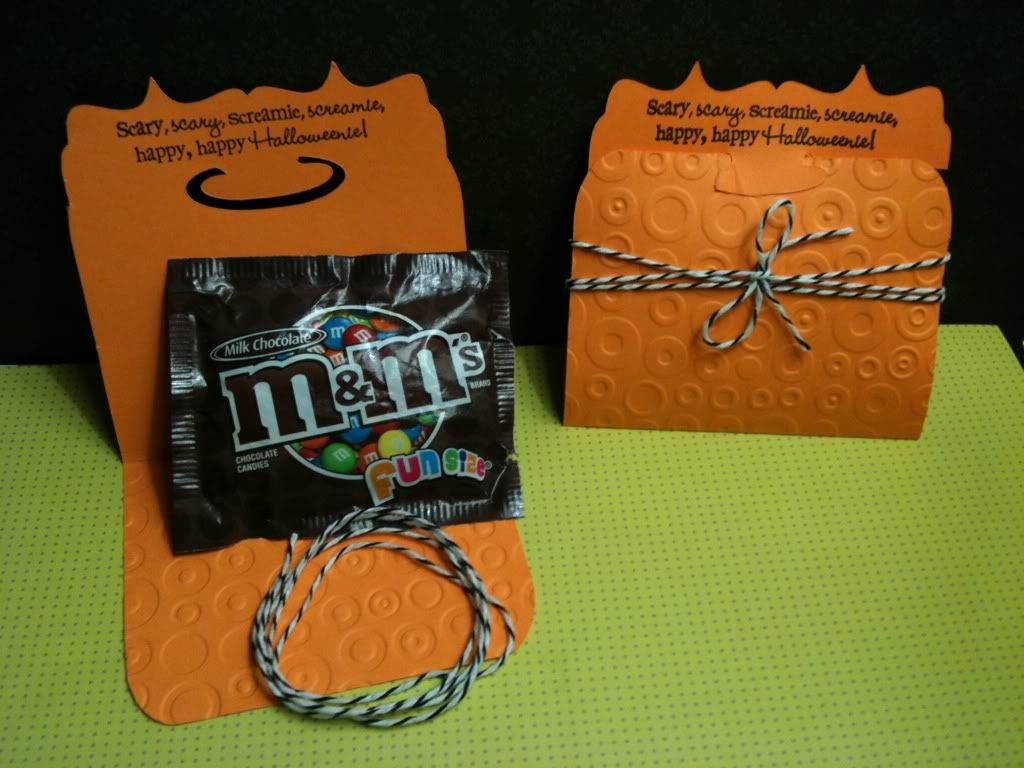
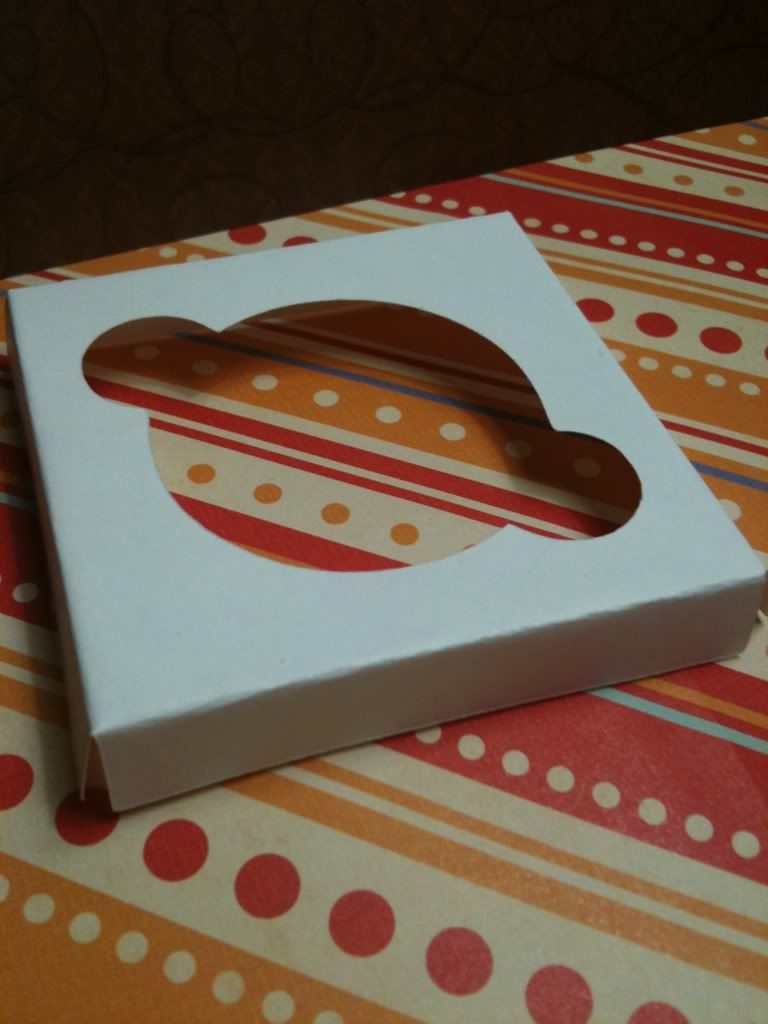
My project for this challenge is a cupcake box.


To create this cupcake box, I used 2 different Cricut Cartridges -- George and Basic Shapes and Storybook and I also used the preloaded cartridge Gypsy Wanderings for the handle. This file was made completely from scratch.

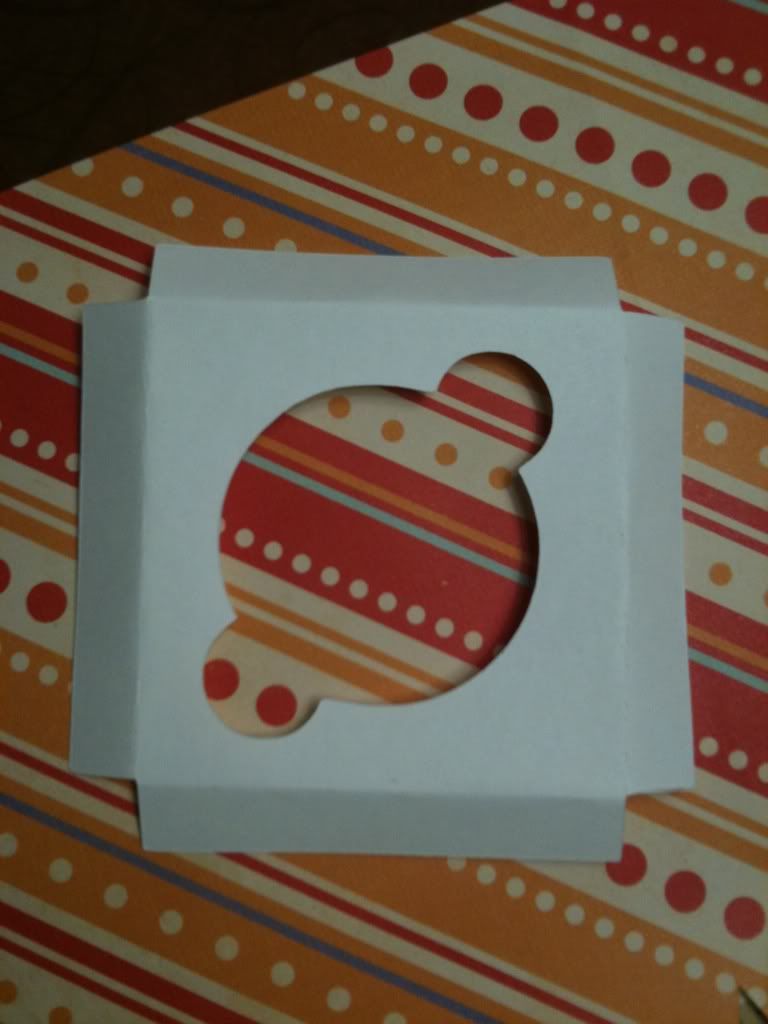
I started with George and Basic Shapes. I used mostly squares and resized them to the size I wanted. This box is a 3" cube with a window cut out at about1.5" from the Cricut Storybook Cartridge. For the top, I used a rounded triangle and resized an oval to create a slit for the handles to be pulled through. The handles are a cut from Gypsy Wanderings.

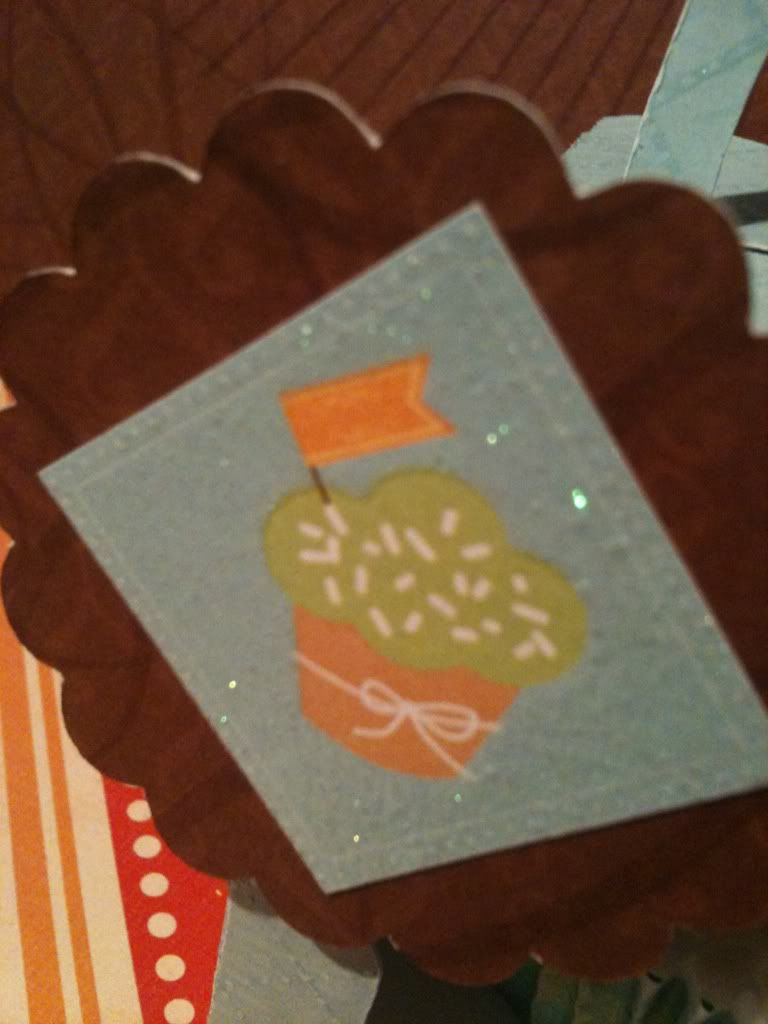
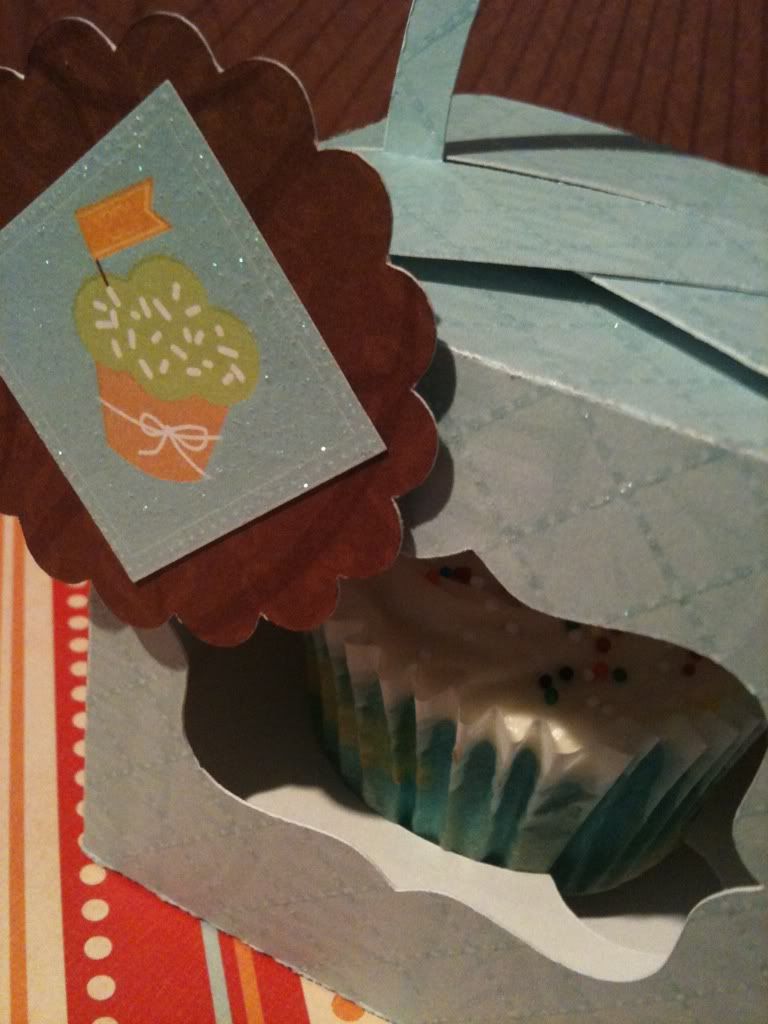
For the little tag up on the corner, I used the scallop from Mini Monograms cut at 2". I cut out the cupcake image from the same sheet of cardstock that I used for the box itself. I used a pop dot to place the monogram on the outside of the cupcake box.


Recipe
Paper - DCWV Sweet Stack
Cricut Cartridges - George and Basic Shapes, Storybook, Mini Monograms (for the tag), Gypsy Wanderings (for the handle)
Sentiment - Computer Generated
Other - Provocraft Gypsy, pop dots (for the tag), Pink ATG

In addition to the box, I also made the cupcake holder inside (so the cupcake stays in place and doesnt hit the sides of the box. Since my box is 3" x 3", using my gypsy, I layered two 4" rectangles over each other and welded them. This gave the holder a height of about 0.5" so that it did not come up over the window on the box. I inserted 3 circles in the middle; one that was 2.5" and two smaller ones that were about 0.75". Creating a circle that is 2.5" will fit a standard sized cupcake. 


Making boxes and customizing them to the sizes I want is my new obsession these days... so you may be seeing more posts of my box creations. =)

Hope you enjoyed yourself. Thanks for stopping by.

Have a fabulous day!

Friday, 27 May 2011

I HEART these Layouts!

Hola Friends! Today I am featuring a couple of layouts that I worked on to start scrapbooking for my two little ladies. I'm a couple of years behind for my oldest daughter, but better late than never to start. 

I used 12" x 12" paper for the background from DCWV Sweet Stack. The rest is just cardstock from my stash.

I cut the hearts at 1 1/4'' and the letters for their names at 3/4", using George and Basic Shapes cartridge. I then inked the edges with one of my Colorbox Cat Eye sets. The flowers are from my Prima flower stash and I used some eyelets and my Crop-a-dile to bring them together. I then some pop dots to stick them on to my pages.

I also used a couple of paper punches - the scallop with circle is from Fiskars and the other is from EK Success. 

ENJOY!


For this first layout, the 9 hearts is just the negative from cutting the hearts I used for the name. I love it when I can creatively save paper! I'll be using this space to write in her time of birth, height and weight measurements. 


The three ovals on the left are about 3.75 inches wide and I welded them on my Gypsy using the circle on George and Basic Shapes, making the height about 6 inches. This space will be for her time of birth, height and weight measurements.

Recipe

Paper - DCWV Sweet Stack, cardstock from stash
Ink: Color Box
Stamps: NONE
Other: Cuttlebug Spots and Dots folder, Prima flowers, EK Success Punch, Fiskars Punch, Crop-a-dile, Eyelets


Thanks for visiting! Have a fabulous day! 

Tuesday, 17 May 2011

Inspired to Shop!

So I've been wanting to shop, shop, shop... I took that energy and redirected it towards my Cricut, and I made a purse shaped Gift Card Holder. Here you go! Enjoy. 


Recipe

Paper - Cardstock from my stash
Ink - Stampin Up
Stamps - Hot Off the Press Tiny Words and Images
Cricut Cartridges - Geroge and Basic Shapes 
Other - Prima flowers, Cuttlebug Swiss Dots

Have a fabulous day!