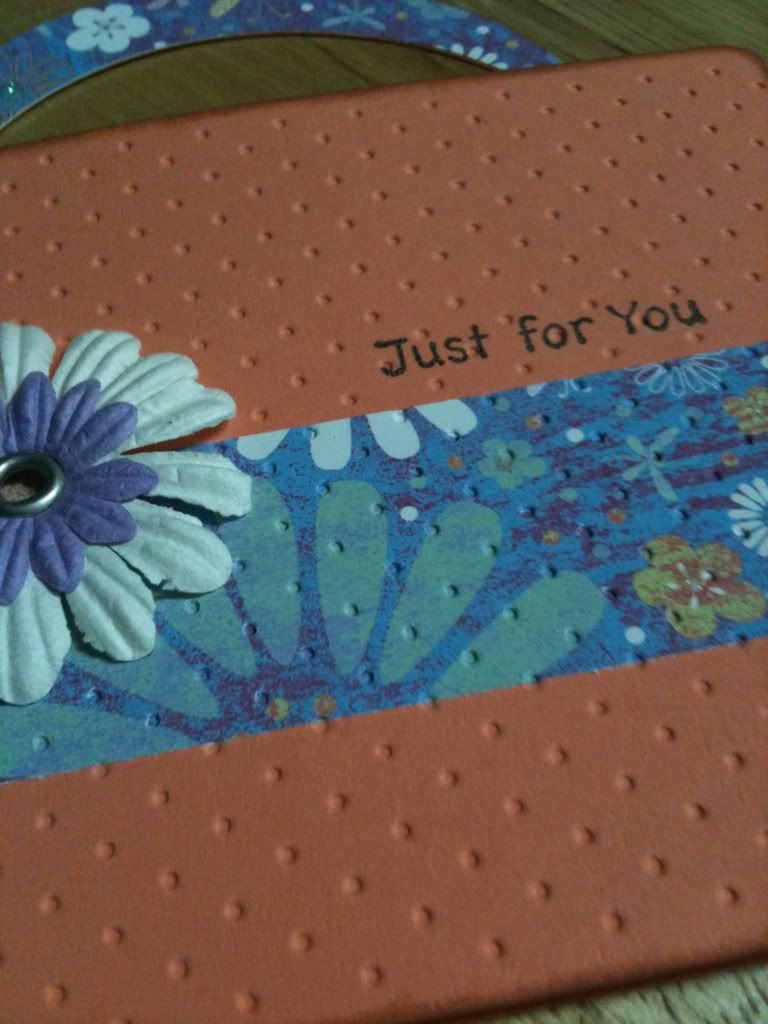
Hello Friends. I've been wanting to join so many different challenges to give my creativity some direction. Here's a card I did really quickly for the More Than Favors Wacky Wednesday Challenge. The challenge is to use the colors, teal, pink, cream and brown in your project.
CRICUT-LESS. ((GASP!)) I know. I know. I promise to use my Cricut for the next project/post. =)
This card is 5.5" x 4.25". The base is 5.25' x 4". I used my Fiskars border punch for the brown piece and embossed it all with Cuttlebug Seeing Spots. For the top layer, I cut patterned paper from Me and My Big Ideas to 3.5" x 2". I then attached a small strip to one side after embossing it with Cuttlebug Stylized Flowers. My stamp is from Hot Off the Press Tiny Words and Images. I used my corner punch (I can't remember the brand) to round off the edges for both the top and base layers. I finished this card off with some Prima Flowers, using an eyelet, my Crop-a-dile and some pop dots.
Have a fabulous day!

Tuesday, 31 May 2011
Monday, 30 May 2011
Happy Memorial Day!
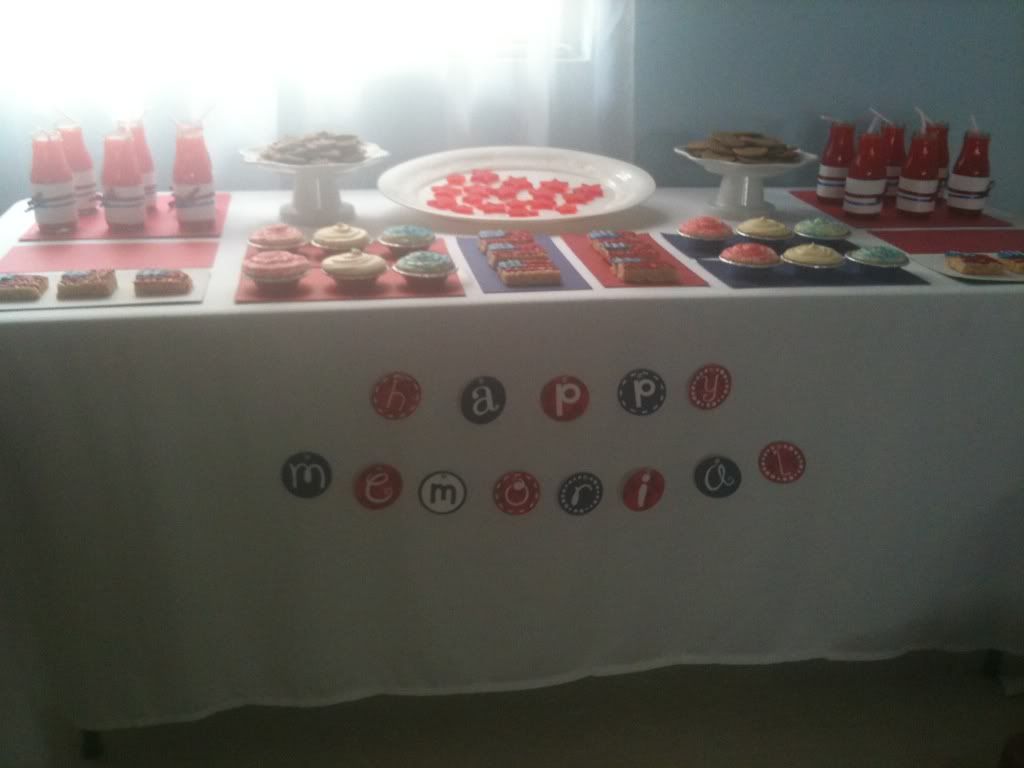
Hello friends! I hope you all enjoyed your Memorial Day weekend. I sure did! Nothing better than the company of family and friends and of course good food! = ) Today, I wanted to share with you the delicious and oh so cute dessert table my sister-in-law set up! Awesome job, Nan! And a big thank you to my cousin Jona for helping with the set up and taking pictures. Enjoy the table full of White Chocolate Mousse Tarts, Rice Krispie treats with frosting and designed as the American Flag, Starwberry-Banana Jello stars, Chocolate Chip cookies, Cassava cake stars, and V8 Splash refreshments!
Have a fabulous day, everyone!

Of course, I had to bring out the Cricut and create a little banner for the table! For this, I used Mini Monograms. I cut out the foundation and the letters (using the circle, dots, stitches, and frame features) at 4 inches with white cardstock for the base, and I used red patterned paper and plain blue cardstock from my stash. So simple and very easy to create.
Have a fabulous day, everyone!
Friday, 27 May 2011
I HEART these Layouts!
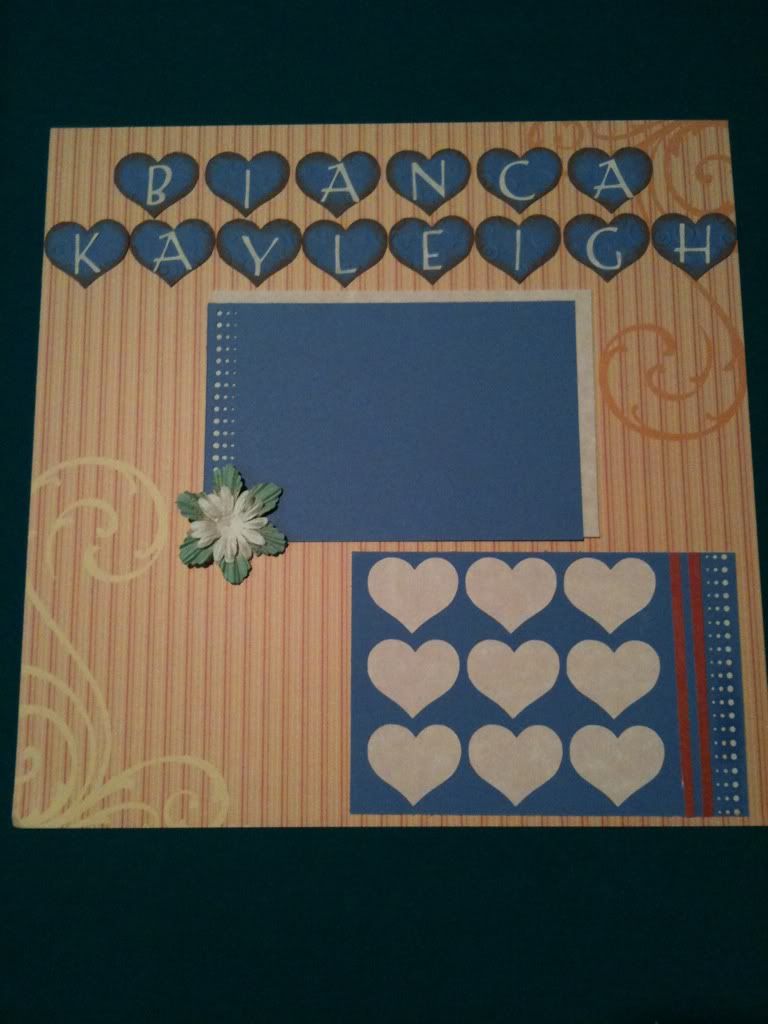
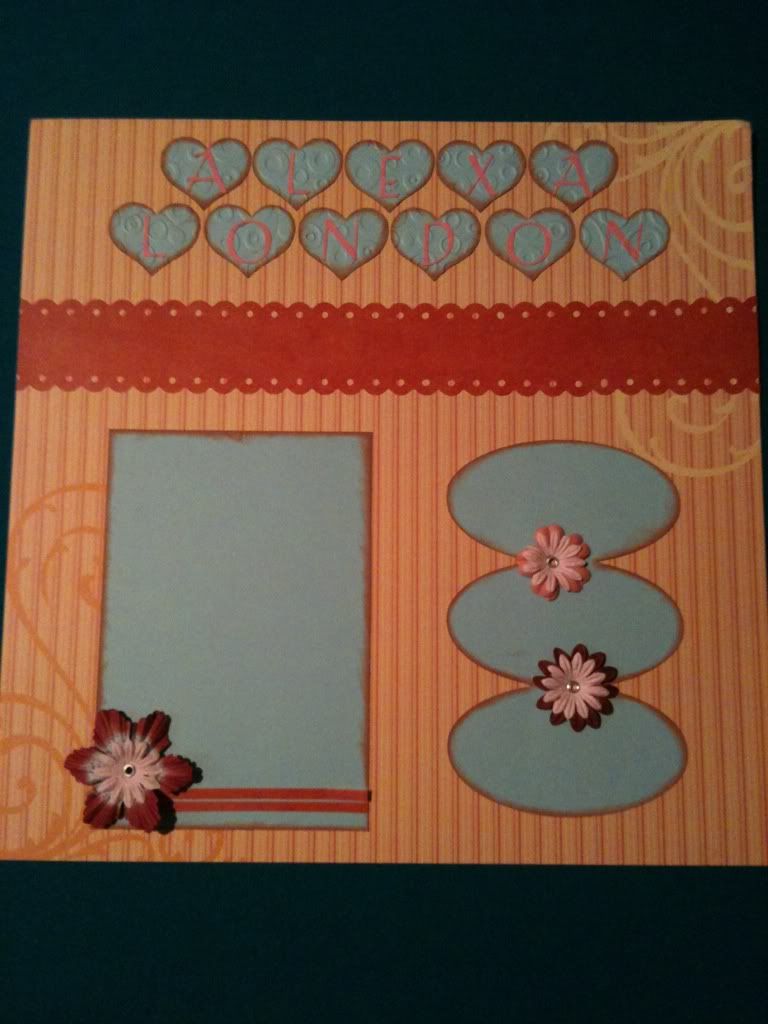
Hola Friends! Today I am featuring a couple of layouts that I worked on to start scrapbooking for my two little ladies. I'm a couple of years behind for my oldest daughter, but better late than never to start.
I used 12" x 12" paper for the background from DCWV Sweet Stack. The rest is just cardstock from my stash.
I cut the hearts at 1 1/4'' and the letters for their names at 3/4", using George and Basic Shapes cartridge. I then inked the edges with one of my Colorbox Cat Eye sets. The flowers are from my Prima flower stash and I used some eyelets and my Crop-a-dile to bring them together. I then some pop dots to stick them on to my pages.
I also used a couple of paper punches - the scallop with circle is from Fiskars and the other is from EK Success.
ENJOY!
For this first layout, the 9 hearts is just the negative from cutting the hearts I used for the name. I love it when I can creatively save paper! I'll be using this space to write in her time of birth, height and weight measurements.
The three ovals on the left are about 3.75 inches wide and I welded them on my Gypsy using the circle on George and Basic Shapes, making the height about 6 inches. This space will be for her time of birth, height and weight measurements.
Thanks for visiting! Have a fabulous day!
I used 12" x 12" paper for the background from DCWV Sweet Stack. The rest is just cardstock from my stash.
I cut the hearts at 1 1/4'' and the letters for their names at 3/4", using George and Basic Shapes cartridge. I then inked the edges with one of my Colorbox Cat Eye sets. The flowers are from my Prima flower stash and I used some eyelets and my Crop-a-dile to bring them together. I then some pop dots to stick them on to my pages.
I also used a couple of paper punches - the scallop with circle is from Fiskars and the other is from EK Success.
ENJOY!
For this first layout, the 9 hearts is just the negative from cutting the hearts I used for the name. I love it when I can creatively save paper! I'll be using this space to write in her time of birth, height and weight measurements.
The three ovals on the left are about 3.75 inches wide and I welded them on my Gypsy using the circle on George and Basic Shapes, making the height about 6 inches. This space will be for her time of birth, height and weight measurements.
Recipe
Paper - DCWV Sweet Stack, cardstock from stash
Ink: Color Box
Stamps: NONE
Other: Cuttlebug Spots and Dots folder, Prima flowers, EK Success Punch, Fiskars Punch, Crop-a-dile, Eyelets
Thanks for visiting! Have a fabulous day!
Friday, 20 May 2011
It's Raining BABIES! - Baby Shower Card
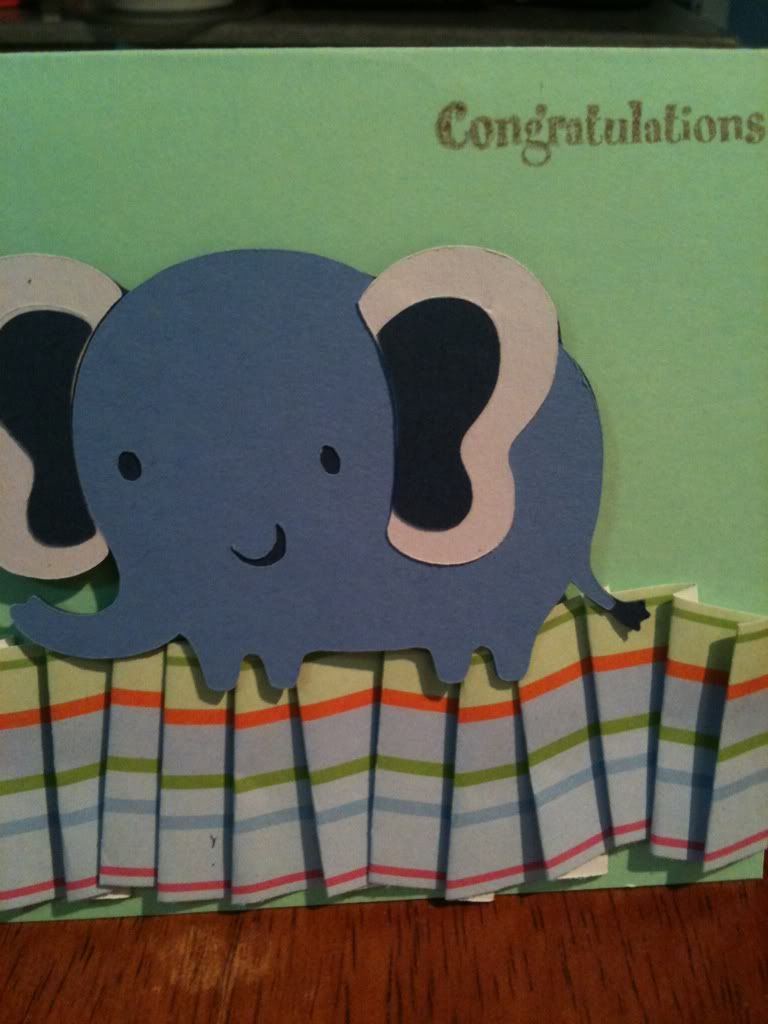
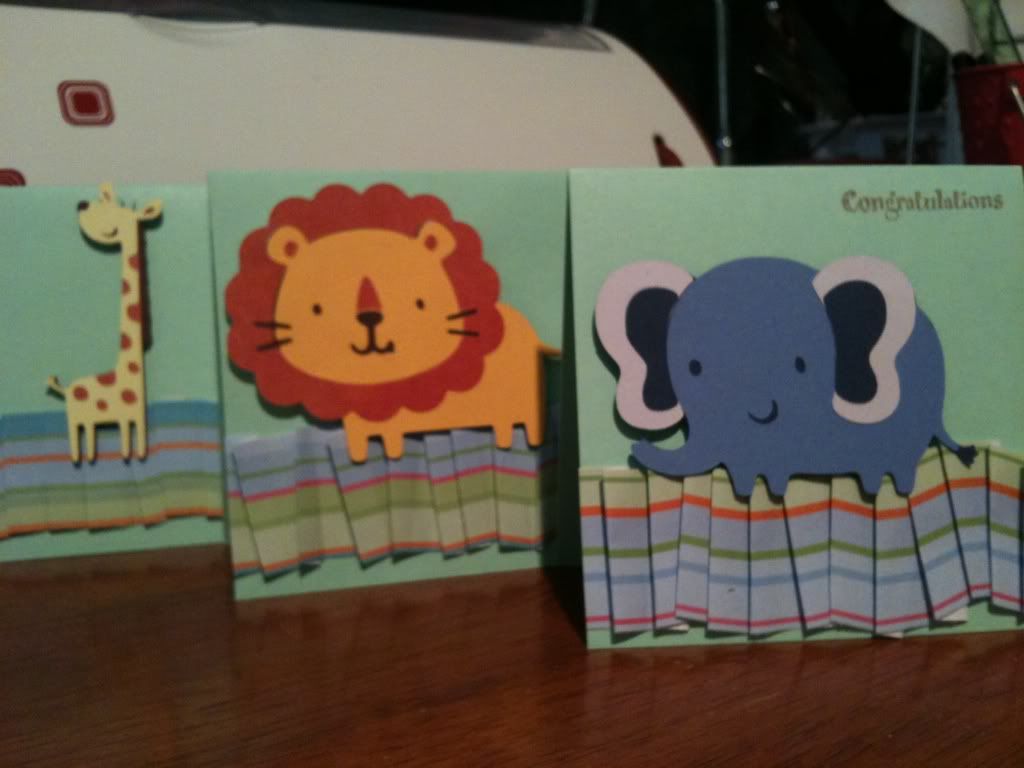
HOLA! It is seriously raining babies. For my project today, I am sharing a baby shower card. The shower itself has a Safari Theme so I thought I would go along with it. My sister had asked me to make this card for her friend and I immediately thought of the Create a Critter Cartridge. I had decided to use the Giraffe, but ended up cutting the Lion and Elephant along with it. Here's my card. ENJOY!
Have a Fabulous Day!
Recipe
Paper - Cardstock from stash
Stamp - Hot Off the Press Tiny Words and Images
Ink - Stampin Up Close to Cocoa
Have a Fabulous Day!
Tuesday, 17 May 2011
Inspired to Shop!
So I've been wanting to shop, shop, shop... I took that energy and redirected it towards my Cricut, and I made a purse shaped Gift Card Holder. Here you go! Enjoy.
Recipe
Paper - Cardstock from my stash
Ink - Stampin Up
Stamps - Hot Off the Press Tiny Words and Images
Cricut Cartridges - Geroge and Basic Shapes
Other - Prima flowers, Cuttlebug Swiss Dots
Have a fabulous day!
Recipe
Paper - Cardstock from my stash
Ink - Stampin Up
Stamps - Hot Off the Press Tiny Words and Images
Cricut Cartridges - Geroge and Basic Shapes
Other - Prima flowers, Cuttlebug Swiss Dots
Have a fabulous day!
Labels:
George and Basic Shapes,
Gift Card Holder
Monday, 16 May 2011
Pilot Post
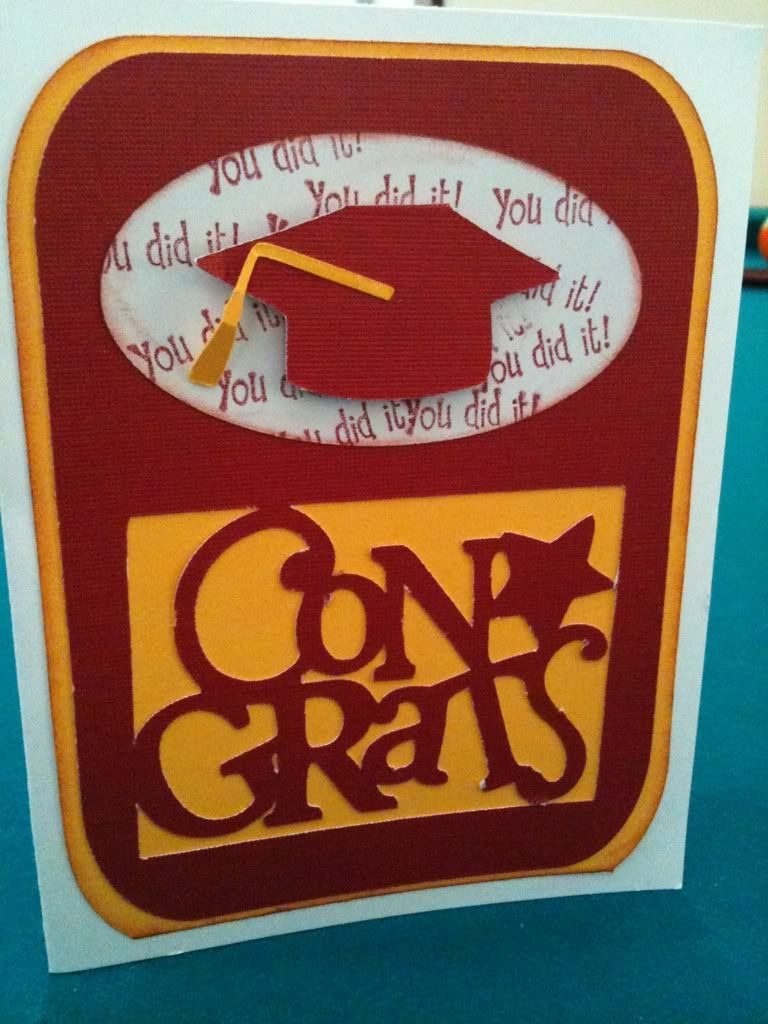
I'm not too sure how to start this blog, so I'll just get right to it. I've been working on various designs on my Gypsy for the Graduation season -- cards, money holders and gift card holders. Here's a card I made for the son of my mom's friend who recently graduated from High School. His school colors are burgundy and gold.
Have a Fabulous Day!
Recipe
Cardstock - from my stash
Cricut Cartridges - Gypsy Wanderings (CONGRATS), Wild Card (Cap)
Stamps - Hot Off the Press Tiny Words and Images
Ink - Stampin up Baroque Burgundy
Have a Fabulous Day!
Subscribe to:
Comments (Atom)


